Thursday, August 10, 2017

Post #66, 8-10-2017, All of the finishing touches!


65 Mustang Restoration

And away we go with most of the finishing touches for the car.

Starting with finishing the trunk area,,, since we eventually plan on road tripping a bunch, which means luggage & other items in the trunk, I want to protect my quarter panels & pretty them up a bit.


It starts with a pattern, and a very thick Yoga Mat. 


Just glue on some killer spray adhesive,,, and wrap with a nice vinyl (or whatever you'd like).
 

And there you go,,, super nice looking & thick quarter protectors!


Next it was time to cure that wobbly spare tire situation. Again,, it starts with a pattern,,, then cut & bend the aluminum into shape.


Test fit & once again, cover with more vinyl.
 

And BAM,, a super solidly mounted spare tire setup. 
 
 I then finished everything off the trunk with a custom piece of loop carpeting that I made to fit the front section, along with the carpet mat/rug that I bought & modified to fit my fuel lines.


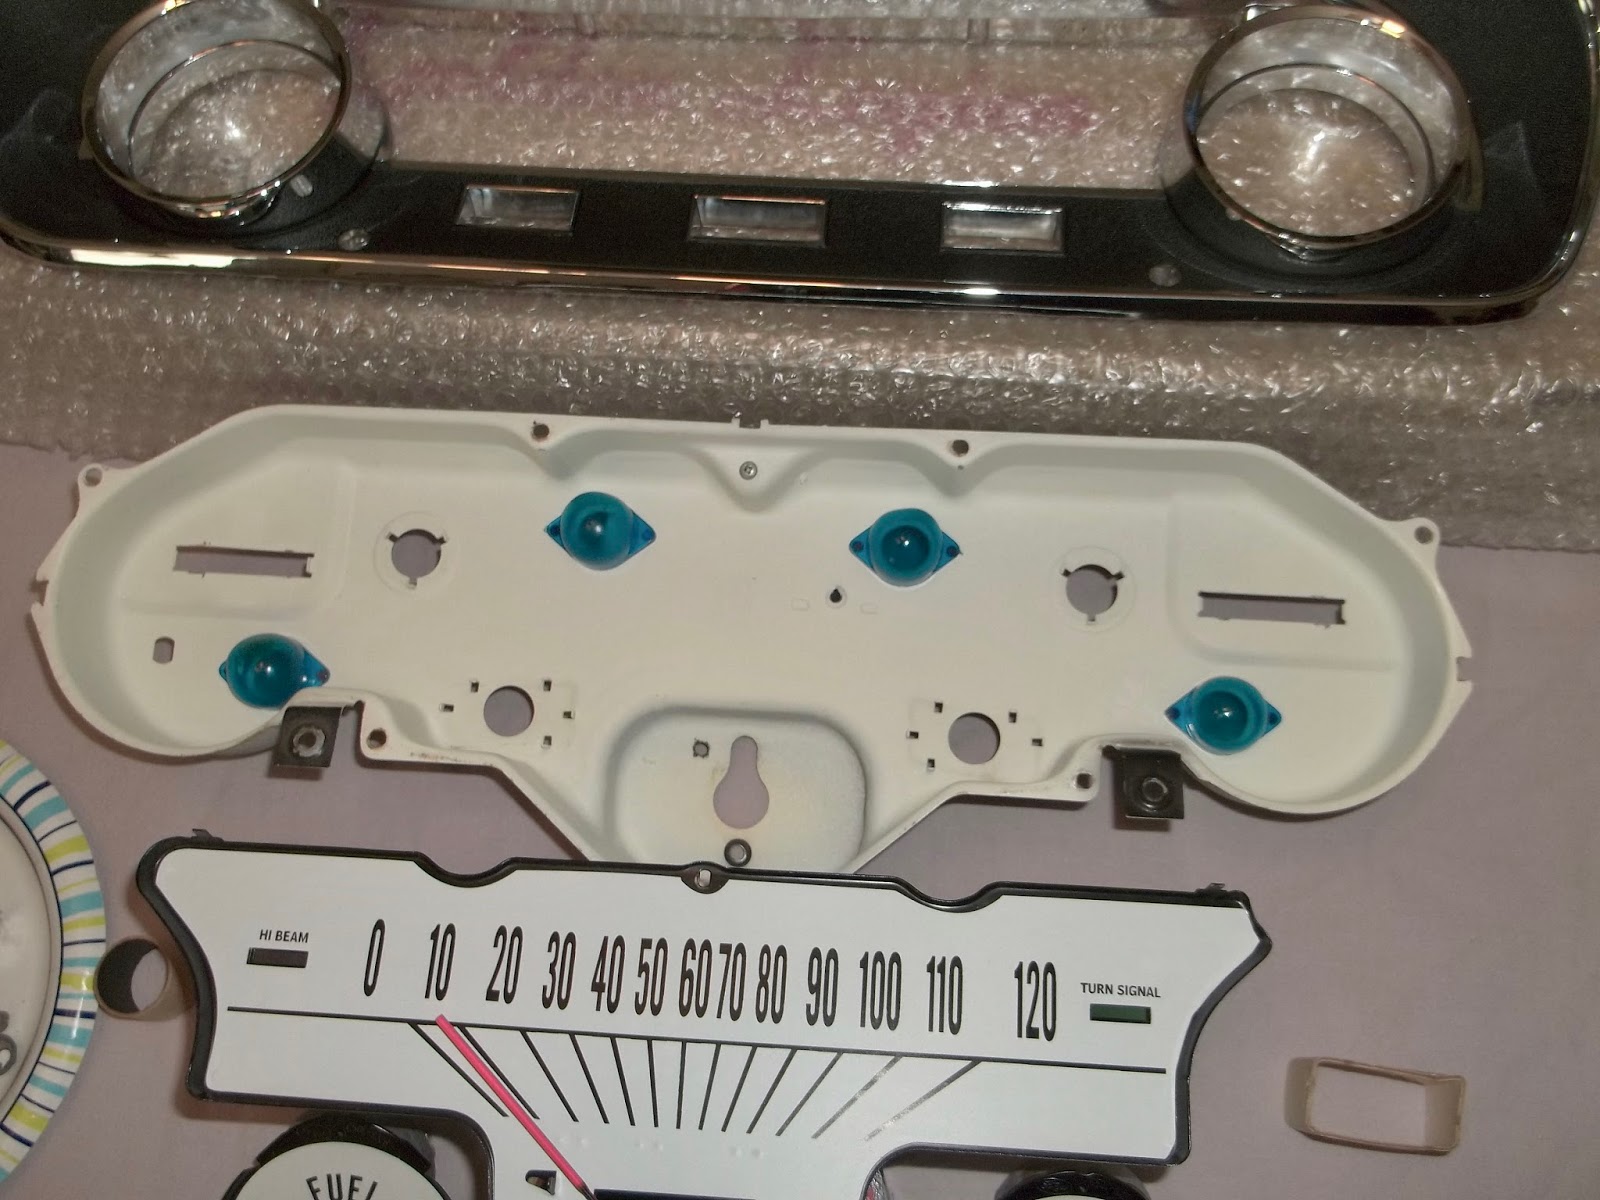
Next, I moved forward to the engine compartment. I started by adding a 2nd water temp sending unit for my dash, since the main sensor is being used for the EFI unit.


It sure was nice of Edelbrock to have an extra thick area for me to do it.

Next it was on to the custom 2-piece fan shroud. 


 I know it looks easy,,, but the only thing easy, is killing an afternoon to design & build it.


Then it was time to grab some stout wire & design the 4 sections of my transmission lines. 


And after a bit of bending, you hopefully get something like this.


My Eastwood flaring tool does perfect flairs in seconds!


We have tranny lines!
 

Though the lines came out great,,, I never liked how solid everything was,,, so I changed to barbed fitting in the radiator & cut the lines back 6" and added transmission hose with high pressure clamps.


I installed the new High Torque Mini Starter which works great once it was wired properly. 


Then I had to design my Amsoil air filter support bracket. Needless to say, it works great. 
 

The engine bay is done!


Since the front fenders were done already, I taped off the rear wheel houses, scuffed them up a bit, and gave them several coats of undercoating.


I added the new shoes,,,
 

,,, and a new set of classic chrome traction bars.


I then installed a new 2.5" Stainless Steel Magnaflow X-Pipe Dual Exhaust System #15815.
 

But I changed out the turn-downs for angle cuts (tips). 


I'm-a-think'n that the bottom is done!


 And finally,,, I needed some leg room, so I designed a set of 2" seat extensions. It's AMAZING what 2" can do for you! It even had me changing out the new 13.5" steering wheel,, for a 15" version which was dished a bit more,, and much easier to control when sitting back farther. 


Luckily, I only needed to do the drivers side.


The next time,,,, the Final Product!


Post #65, 8-10-2017, A/C Evaporator & Dash Cluster Rebuilds


65 Mustang Restoration


I know I'm behind on my blog, cause I have lots to cover yet, but yet we've been driving the car since the end of June 2017. So here goes a brief bit about several of our finishing details.


First we'll get started with the Pony & Coral back-lighting kit we bought that has LED lights stuck to the back side of the pony & it lights up when you have the low beams on. 


The A/C evaporator unit rebuild started with a collection of units that I have acquired over the years. Since nobody makes a new replacement cover, I picked the best 65 version that I had, which was actually in pretty good condition.


 Just a few pics of the insides.


This might be why the airflow on your unit sucks,, lol. All of the units looked the same way.


Since I was rebuilding my unit, I figured why not upgrade the core. Here are a couple of comparison shots between the oem & the newer style high performance cores. 
(FYI,,, I have never run an a/c unit with a stock core,,, but I can tell you this,,, the upgraded version will freeze you when it's on high, with frosty smoke vapors coming out of the 4 vents)


And here is the final product. The coin tray is original but I sanded the aluminum ridges with a fine scotch-brite, painted the sides black & added a new piece of non-slip sticker paper like you use on bumpers or steps. I also installed 4 new a/c diffuser vents. We're very pleased with it now,, and it blows extremely cold!

 
As of Easter Sunday 2017, I gave myself 2 months to get the car road trip ready so we could make the Goods Guys Car Show in Des Moines, Ia. on the July 2nd weekend,,,, and yes I did make it there.


 This is the starter list of items that needed to be done(some were optional). Below is the table of fun stuff to install.


Including my new custom aluminum driveshaft from Quarter Master,,, Super Strong, Super Lite!


Then it was time to liven up the cluster for the car. I had several years earlier, bought a restored cluster on Ebay,,, but since my sight isn't what it used to be,,, when I saw an option for the white-faced gauges,, I decide that those were for me. So I started with a couple of old clusters I had, and got to work.


The majority of the work is just CAREFULLY cleaning the old parts. 


The white faces are basically just whites stickers that install very easily without even having to mess with any of the needles.


Vwoala,,, isn't it pretty?  And here's even a side by side comparison of a black & white faced restored cluster.


More to come,,,