65 Mustang Restoration
So on Labor Day Weekend we were finally able to get back to work on the Mustang. Here's a recap of some of that work,,,
1st on the list, after combing the garage for the hinges, was to mount the driver's door so we could see if it was going to fit worth a hoot, and also to help with the alignment of the rear quarter panel. I was pretty happy with how the door fit.
Here you can see the lip that the quarter panel gets welded to. When we picked this car up, the quarter was already completely taken off, which definitely has it's pros & cons. By having the door installed, it made it much easier to straighten the lip(not done yet when the pic was taken).
Since a good Pack Rat never gets rid of anything, we were able to compare the new "Ford Tooling" rear panel against the original,,, keeping the old parts is probably one of the brightest things I've done. It sure made it nice for measuring everything,,, I was very happy with all of the dimensions,, it really looked close to the factory piece(less all of the rust).
The new rear panel didn't come with the holes where the lower valance attaches to (the rear frame brace that the back panel attaches to is pre-drilled), so we used the original holes as a template and before we drilled the holes, we double checked the markings with BOTH the new valance & the rear brace,,, looked good. This also helps to make sure you don't put a lump of super hard weld in one of those areas.

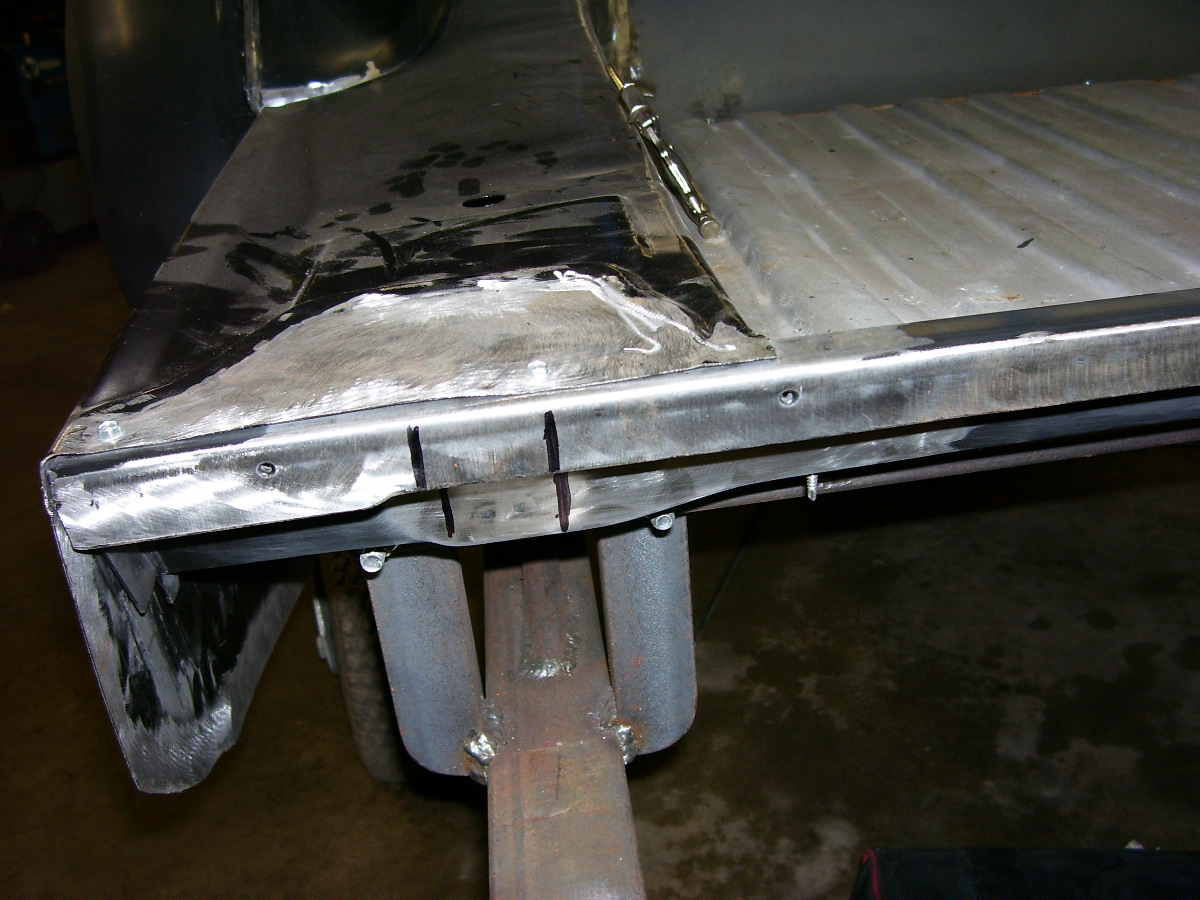
Then we started fitting the quarter that we got from Laurel Mountain,, which is a ton closer to fitting properly than the one we originally got from CJP. We then did a quick test fit of the corner brace,,, needs a bit of tweeking, but it shouldn't take much. As you can also see,,, I don't think it's possible to ever have enough pairs of vise grips,,, and it takes a Bunch of different sizes to get the job done. We have also found that when fitting panels together that you'll be taking on & off a lot, it's really nice to use some #8 small self tappers to actually screw the panels together,, this really helps lining everything back up in the same spot each time you install the panel,, and it's an easy hole to spot weld shut when you're doing final assembly.
This area fits sooo much nicer than the other panel did,,, though not perfect, it'll be much easier to repair/modify. The overall fit of this area is really nice.
For an initial test fit, I thought the door gap area looked pretty good,, we can easily slide the door back a bit,, remember, we just guessed where it should be when we first installed it.
For the most part,,, the general fit of this quarter panel was pretty good. One thing that is kind of a pain though, is all of the grinding it takes to remove the black coating where everything will be welded together,,, this is very time consuming,,, but it needs to be done.
At this point, the main thing we need to finish, is the redesign of the wheelhouse lip so it attaches to the quarter properly,,, I have a pretty good start on that, but it'll have wait until next time.
Till then,,,,


Looking good, Doug. Good call in the spair tire Dent and welding in the rear cross member. I got 2 question's on the trunk floor pan's. What did u do about the front 67-70 style drain holes in the drop down's? and the miss located hole for the grommet to the back up light's? I'll b chatting to ya later. C-ya Scott
ReplyDelete