65 mustang Restoration
More painted(jammed) parts were delivered today,,, the 2 doors have been painted with both of their colors,,, semi-gloss black for the interior section & Kona Blue in the jam areas,, along with both front fenders, all 4 hinges & the bottom side of the deck lid.


-------------------------------------------------------------
2-Speed Wiper Assembly
Since the painting has been moving right along,, I figured I'd better get cracking on some of the smaller sub-assemblies,,, all of those parts that are among the first items to be installed inside the car,,, so the 1st item to mess with was the 2-speed wiper assembly.


This is the wiper motor for an early version Mustang that has a 2-Speed Wiper. I actually have a couple of assemblies,, this one looked to be in very good condition, but pretty dirty. I just hope it works,,, (Since I'm not sure how one would bench-test this ahead of time,, if I find out, I'll let everyone know). The wiring harness & connector look pretty nice.


Above are some other "before" pics,,, you have to tear it apart before you restore it. The top pic has the arm assembly as it's suppose to be, the top wiper arm is for the right side. Notice on the bottom picture above, the wiring harness clip that helps to keep the wiring from getting tangled in the left arm as it moves.

I cleaned the motor assembly the best I could,,, trying to keep any liquids/cleaners from getting inside places it shouldn't be. It took a bit to clean the old tape off of the motor. I then sanded, cleaned & painted it all back up. (notice the factory date code)

The arms just received a light cleaning, since I didn't want to remove any of the factory coating on them,, the only area to touch the wire wheel was the ends that protrude through the cowl. I wanted to make the threads nice and clean, along with removing the factory paint over-spray.


I blasted the 2 brackets & coated them with Eastwood's Rust Encapsulator,, it gives it a rock hard semi-gloss finish.
And here's the finished product,,, a complete 2-speed wiper assembly that looks pretty good,,, sure hope it works!

----------------------------------------------------------
Heater Box
The 2nd project was to restore the factory 2-speed heater box assembly. As you can see,, it needs a lot of work! You'll notice the cracked & broken housing,, and a bunch of rusty parts inside,,, and it was even worse looking once I got inside.


Luckily, I've been able to acquire a couple of extra heater boxes, so I had my choice of the best of each of the parts,,, or at least that was the theory.


I like this one!

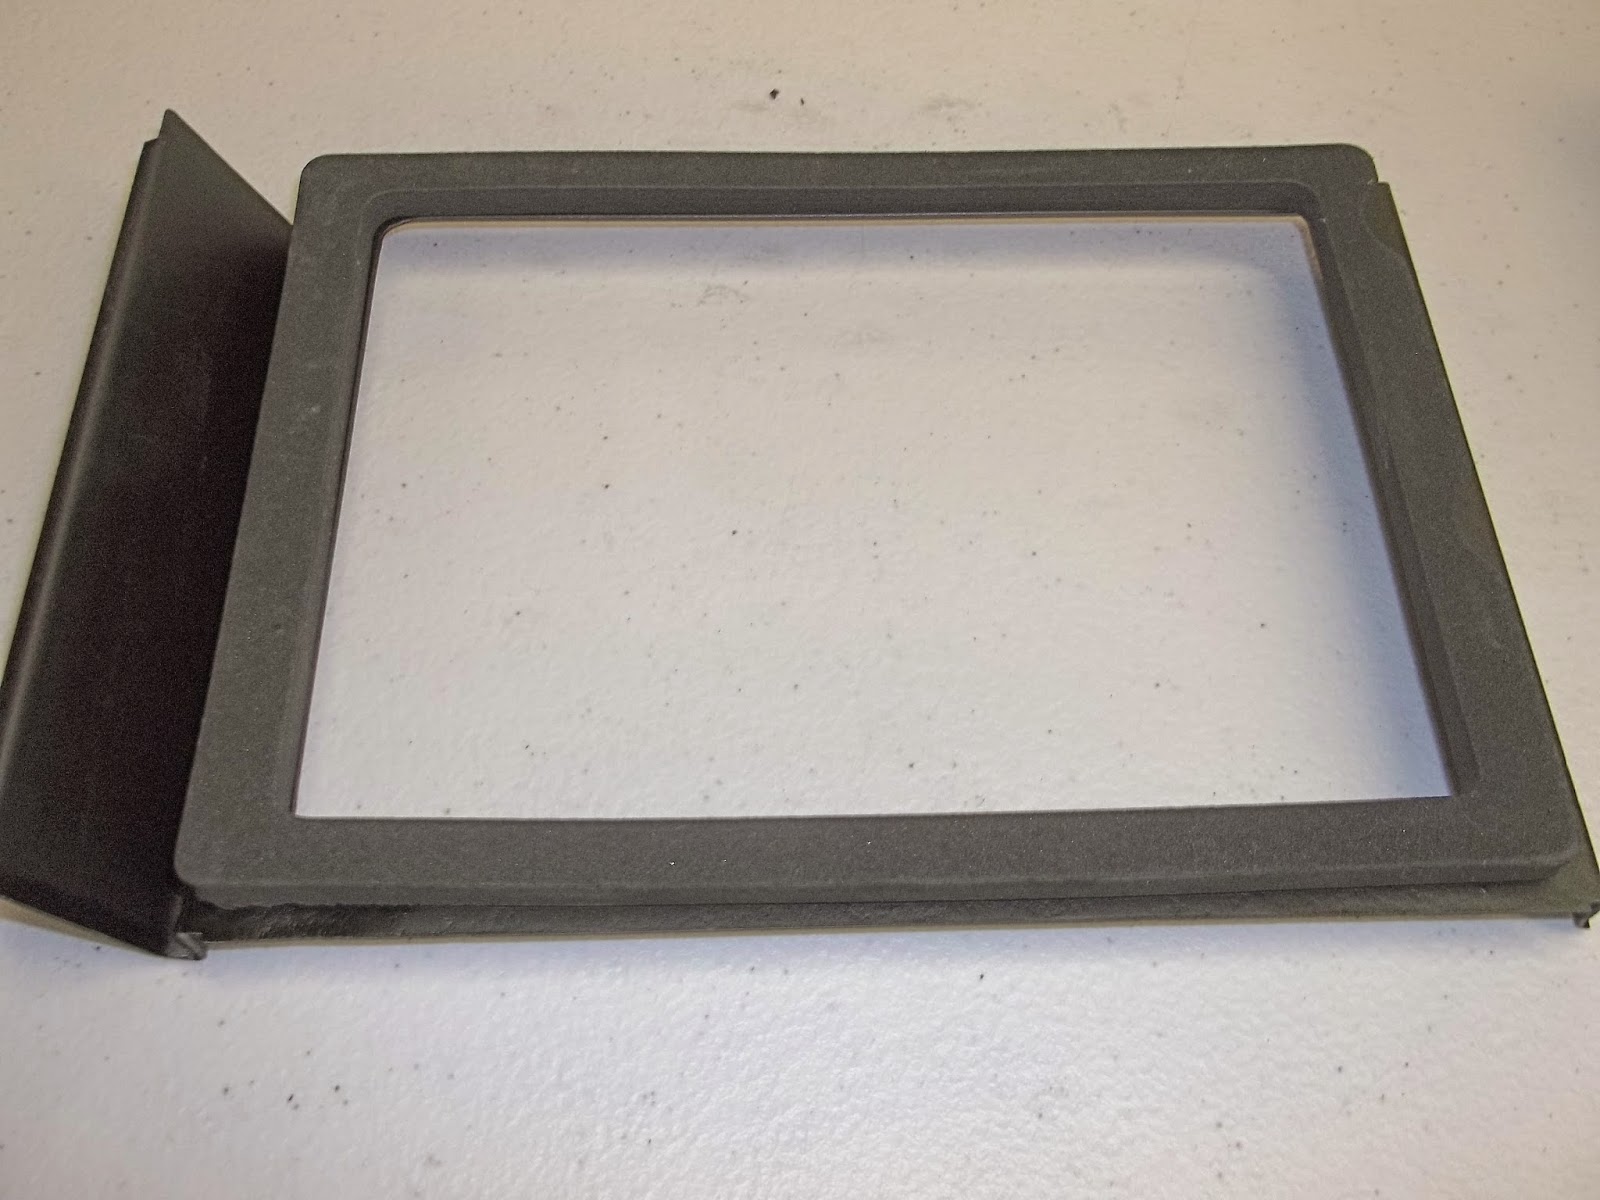
This is a SIDE NOTE and possibly a useful tid-bit. From the outside, all 3 boxes looked the same, with one small exception,, the housing I ended up choosing, was missing the mounting bracket by the outside opening door,,, didn't think much of it at the time, but when I opened it up,, the heater core was much thicker & it's bracket was much different. Not a real big deal, but you need to use the appropriate heater core spacer bracket with the appropriate thickness of heater core,, blow are a couple of pics of those differences.

Below is for the thick heater core.

This one is for the standard Mustang thinner core

Now you can see the difference in core thicknesses

I would suppose that if you're in a colder area & actually drive your Mustang in the winter,, I would assume the thicker core would work much better for you.
Here's the freshly blasted flapper-door housing, mounting bracket, & heater core spacer bracket,, all ready for more of Eastwood's Rust Encapsulator (which is sprayed on All blasted metal areas).

(Below) And here's the pile of parts all waiting to be assembled. The 2 housing sections have already been carefully blasted & encapsulated,,, the only problem area on this table is,, the new electric blower motor.
TIP,, if you buy a new motor,, there are 2 things that you need to do immediately upon arrival,,, 1st, look at the screws that go completely through the motor & hold it together,, (see 3rd pic below) there are 2 sets of nuts,, the pair of nuts touching the motor should not be messed with at all,, however,,, the 2 outer nuts are what holds the rectangular mounting bracket to the motor,, Problem with this motor,, the bolts are just too short,, by the time you try to install the new padding, plate, washer and then the nut,, there's no way for the nuts to grab any threads, let along tighten down. 2nd, if it looks like your bolts are long enough,,, touch the wires to a car battery to see if the motor works,, and more importantly that it doesn't make a bunch of noise when it runs. Needless to say,,, I'm returning this one & have ordered a better one from NPD.


Side Note: I tore 3 heater box assemblies apart,,, and the only padding that I found installed in them,, was the 2 large rectangular pieces that supported the heater core itself,,, there was no other padding that I had to remove from any other area on the box area,,, but the motor had a piece between the plate & motor,, and a thick round seal that sealed it to the firewall.
I figured I'd try to glue the padding onto the parts in the numbered order on the sheet included with the kit. (3 pieces in the area)

The flapper door housing gets a total of 7 pieces of padding glued to it.

I used a couple of small screws stuck through the holes on the strip, to line the strip up with the matching holes on the housing(below).


Once all those parts are glued on,, you have to carefully install the flapper housing back into the case,, this is not so easy since this padding is kind of thick,,, I test fitted mine earlier,,, It fits,, but barely,,,(you may decide to remove the strip with the 2 holes in it & use a bit of silicone instead). Which ever method you choose,, you have to bolt it into place before the next bit of padding can be installed.

With the heater core installed.

Here's the heater core spacer bracket with it's padding installed.
This is just a pic of how the heater core spacer bracket fits against the core,, (this is just for reference only)

In order for things to fit properly,, you need to glue the heater core spacer bracket into place in the other housing.

Tah Dah! Here it is pretty much all ready to go. Just waiting for the new blower motor to finish it out.


This should work Much Better!
I can hardly wait to see what I do next,,, til then,, cya.

No comments:
Post a Comment